
Examples of Alan Chadwick's Garden Techniques
Section 3
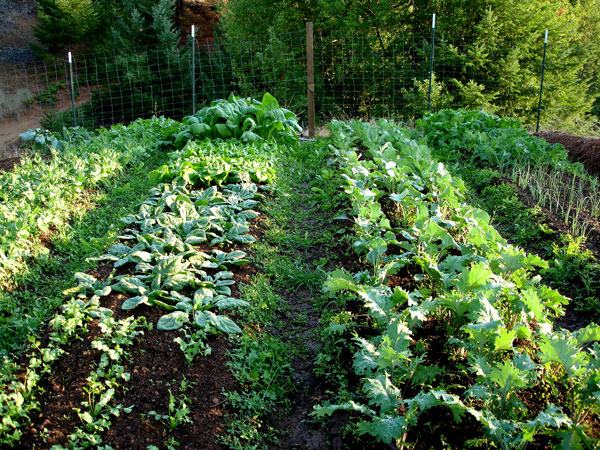
A bed of kale (right center), grown using the Alan Chadwick method.
Kale
Of all the greens in the garden, kale is one of the most nutritious and delicious. Easy to grow, it bears continuously throughout the entire cool season of the year. The classic way to grow kale, and all the other brassicas for that matter, is to sow them in seed flats. When the plants get to be about 3" high, transplant into another flat, but spaced approximately 1" apart. Plant out into the garden in staggered rows with the plants about 12" apart. Dress that bed well, as all the brassicas are heavy feeders. You will want to sow the seed late in the summer or early fall so that the plant begins to produce in the cool weather. If you time it right, you will have kale all through the winter and into the early spring.
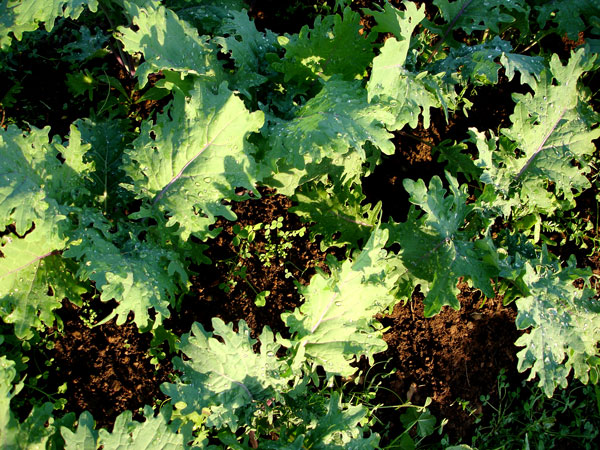
Russian kale, in its early stages.
Alternatively, you can sow the kale seed directly into the bed. Prepare the bed in the usual way, but go a little heavier on the manure. Make three furrows, one down the middle of the bed, the other two just in from the shoulders. The furrows should be no more than 1" deep; just use the corner of your hoe. Then sow the seed, one by one, about 3" or 4" apart in the furrows. Cover with soil sifted through the 1/4" mesh sieve, but not too deep. Remember the golden rule: under cover, not over cover. Water and wait. Thin the plants as they begin to compete with each other for light and air, ending up with plants spaced about one foot apart in the rows. Cultivate carefully between the rows and plants, top dressing with a little well-rotted cow manure when the plants get to be 6" or 8" tall. My favorite dish of all time is sag paneer made with a mixture of kale, mustard greens, spinach, and swiss chard. If I can find the recipe, I'll post it here.
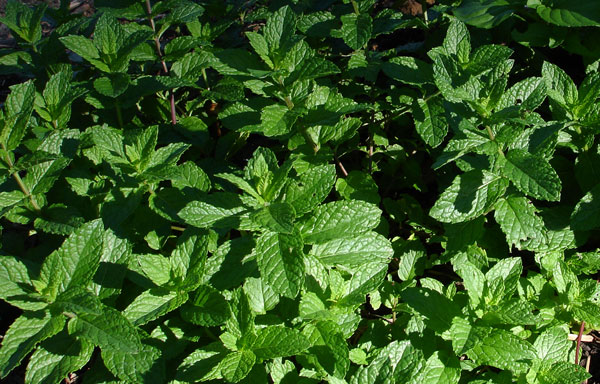
A bed of spearmint
Mint
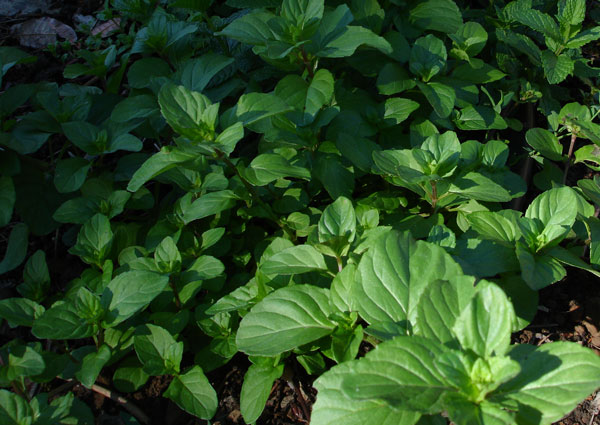
There is one place in the garden that is always moist. The area around your water faucet gets wet every time you turn on the hose, and again when you go to turn it off. Why not take advantage of this continual moisture by planting a variety of mints around the spicket? The possibilities are many. Spearmint, Orange bergamot mint, peppermint, Swiss mint . . . there are dozens, each with its own particular scent. But of what use is mint, you ask? For me, there are three. In descending order of importance: 1. Sniffing. 2. Tea. 3. Garnish.
Sniffing
I confess to having one vice: I am a sniffer. I simply love the fragrance of all things natural: flowers, herbs, winds, foods, the heads of babies, the hair of women, leaves of pine and bay, indian spices, the ocean, rain, meadows, forests, soils, new moan grass, wool moist with the dew, creeks, mushrooms, lightning, moss, wood chips . . . and the list goes on and on. So, I indulge this vice by planting a many mints as I can get my hands on. They are effortless. Buy little plants to get started, or do like my grandfather used to do: snip off little shoots with your fingernails when the owners of the gardens you are visiting aren't looking and carry them home to make cuttings. I can remember going to the Huntington Gardens with him as a child, or to nurseries, or to visit friends at their houses, and always coming home to the project of making a bunch of new cuttings. He never took enough to do any damage, and we collected quite a variety of plant material in this way.
 To root them, just fill a shallow wooden box with sharp sand. You buy it at the masonry supply store. Then, with something large and flat, make a little trench at the end of the box farthest from you. The back of this trench must angle away from you at approximately 45 degrees, and it extends almost to the bottom of your box. Then, lay your cutting (between 2" and 3" long) into this trench, about an inch or two apart, until the whole row is filled with cuttings. Then insert your large, flat object about 2" from the first row, and push the sand back against the first row to cover it, leaving yourself with another trench with a back sloping at the same angle. Continue until the entire flat is full. Water, and keep moist by setting it in a shady spot. Within a few weeks you will notice little rootlets forming at the base of your cuttings. Within a couple of months you will have an abundance of new little plants waiting to take their places in the great world of your garden.
2. Tea
Say it's a chilly winter or spring day. You lingered too long in your garden, marveling at the infinite miracles that manifest themselves every day in that sacred space that you've created. It got dark, and you were listening to the owls call to each other in the twilight, or observing the stars, the Milky Way, and the planet Venus that follows the sun as the evening star. A glow worm caught your attention: a little star incarnate and alive. Or the bats began to fly in their search for mosquitoes.
On one such evening, just at twilight, two barn owls flew across the garden on their way to somewhere. I hooted in the manner of a great horned owl, and that turned them in their flight. They came back to where I was standing in the garden, circled me three times, and then flew onward toward their mysterious destination.
So anyway, by postponing the inevitable moment when you simply must go inside, you got a little bit cold. Why not snip off a couple of sprigs of mint on your way in, and use these to brew up a cup of mint tea? Just boil the water, toss in the mint, and cover it with a saucer for five minutes. Instant comfort, and a gentle transition from the immediacy of nature to the carefully controlled environment of your human-dominated house.
3. Garnish
Make every dish more festive by garnishing it with a little mint. Parsley also works well for this, as does cilantro. It takes just a couple of seconds to chop up the herbs, but this converts even the blandest staple into an occasion. My particular favorite use of mint is in Tarka Dahl. This is a mixture of red and yellow lentils cooked with garlic and ginger to which you add a topping of stir-fried onions and tomatoes and pan-roasted dried chilies. Serve the whole thing garnished with a combination of cilantro, mint, and sliced, seeded, mild green chilies. Excellent!
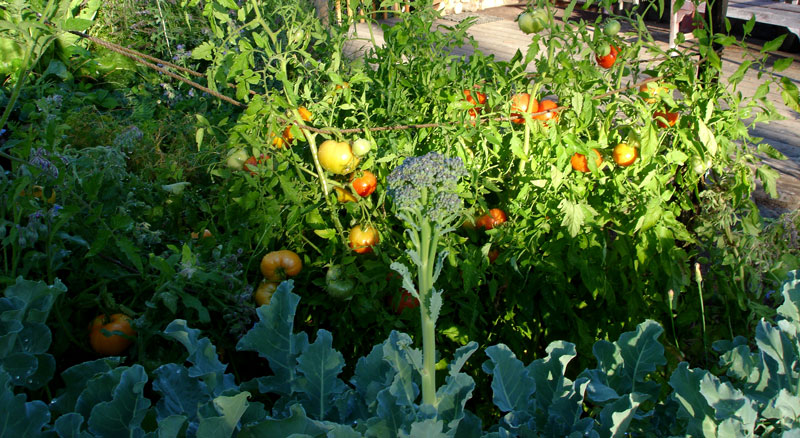
Broccoli heading up in the early fall.
Broccoli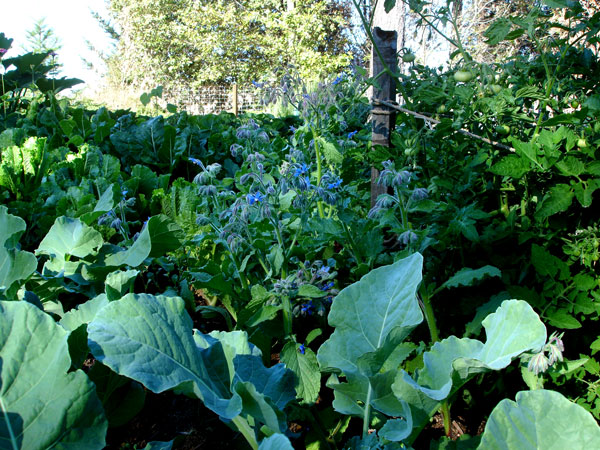
What is it about broccoli that makes it seem so nourishing? It must be loaded with vitamins and essential minerals, and who knows what else, but almost no vegetable is so satisfying. I never knew Alan Chadwick to grow broccoli, though he was devoted to the brasicas in general. We always had cabbage, Brussels sprouts, and sometimes cauliflower. The culture of the plant is basically the same as kale, described above. Select varieties that make side shoot and go on bearing all winter and spring. The main head forms up, and you enjoy this as a great festivity, then the little side-shoots keep coming, and these provide substance to your soups and stir-fries for months. If aphids become a problem, consider growing more nicotiana affinis all around the garden and this will help considerably.
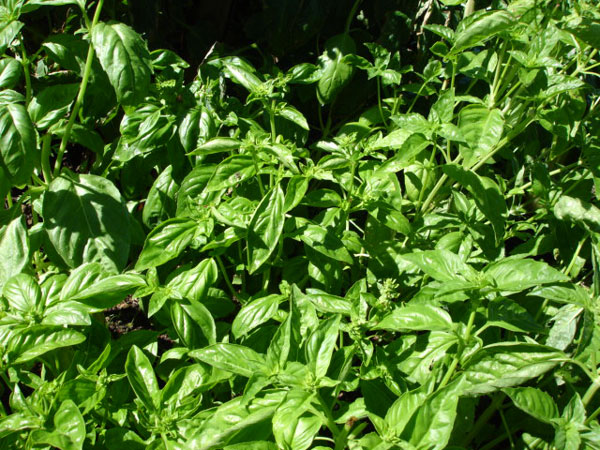
Sweet Basil
I confess. I am not much of a fan of pasta. The reasons? Well, I can think of three right off the bat. First, the vast majority of pastas are degerminated. That is, they remove the heart of the wheat so that the product will not spoil too quickly; it prolongs the shelf-life. But this process removes 90% of the nutritive value; basically all that is left are empty carbohydrates, so why bother? Second, the pasta is made from wheat that has been ground, and it could be that it was ground months or years ago. How fresh and alive could that be? Third, the pasta has been precooked, and this also may have been long ago. So I ask you, how much healthy food value might be left in a highly processed food like pasta?
But if anything could induce me to consume this product, it would be as a vehicle for loads of fresh pesto made from sweet basil right out of the garden. Just harvest a big bunch of basil, throw it in the blender with a goodly amount of extra virgin olive oil and raw pine nuts. Toss in a bit of salt and freshly grated parmesan cheese (not from the round green carton, please) and presto, you're ready to go. Sweet basil can go in just about anything; it's like cilantro in that way. Instant flavor and full of healthy nutrition to boot.
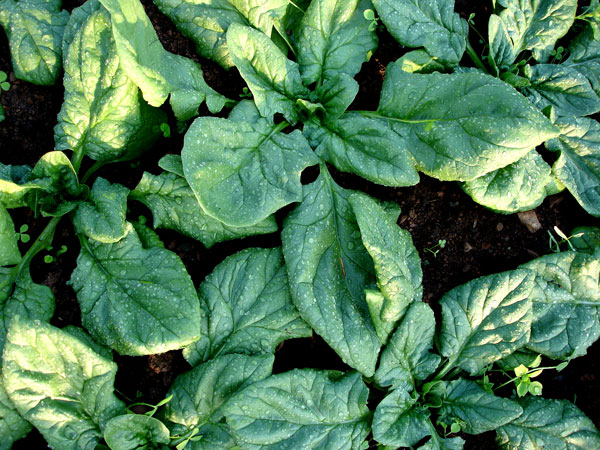
Spinach
There is no reason to be afraid to grow spinach. Just wait until the declination is well under way: September or October are best, but early Spring is also fine. Make three or four rows about 8" or 9" apart, and sow the seed directly into the garden bed. Be prepared to thin so that the plants don't compete with each other too much, but some overlap is fine because you can use your thinnings in salads, soups, stir-fries, etc. It needs cool weather and plenty of moisture, but well drained soil is essential. Sow every month during the warmer months because it will bolt quickly with the heat. Palak Paneer is an Indian dish like Sag Paneer, only it is made entirely of spinach, except for the homemade farmer's cheese you throw in at the end. Marion Schoenfeld was the first person I ever met who made her own Paneer cheese, and she inspired me to try it. Nothing could be easier. Just gently bring to boil a half-gallon of whole milk. When it starts to foam up, add the juice of four fresh lemons and remove the pot from the fire. When it curdles, pour it through a cheese cloth and rinse with water. Then form it into a pancake about 1" thick and press it between two pieces of wood (cutting boards...) for an hour, and it's done. Cover it with a dusting of turmeric, salt, and cayenne pepper, then gently fry it in some olive oil until it just begins to turn brown, and add to your Sag or Palak. Thank you Marion.
Click here to continue reading